Create a DW User
This topic describes how to invite others to create DW users on a DW service unit console or directly create DW users by using a Terraform script.
Before you start
Ensure you have a cloud account and a DW service unit is available under the cloud account. For details about how to create a DW service unit, see Create a DW Service Unit.
Use the DW service unit console to invite others to create DW users
This section describes how to invite others to create DW users on a DW service unit. If you sign in to the Relyt global console, click the target DW service unit card to enter the DW service unit console.
-
Sign in to the DW service unit console by using a cloud account.
Note thatOnly DW users acted by cloud accounts have the privileges to invite others to create DW users.
If you have signed in to the Relyt global console, navigate to the DW Service Units page. Locate your target service unit and click Connect to access its console.
-
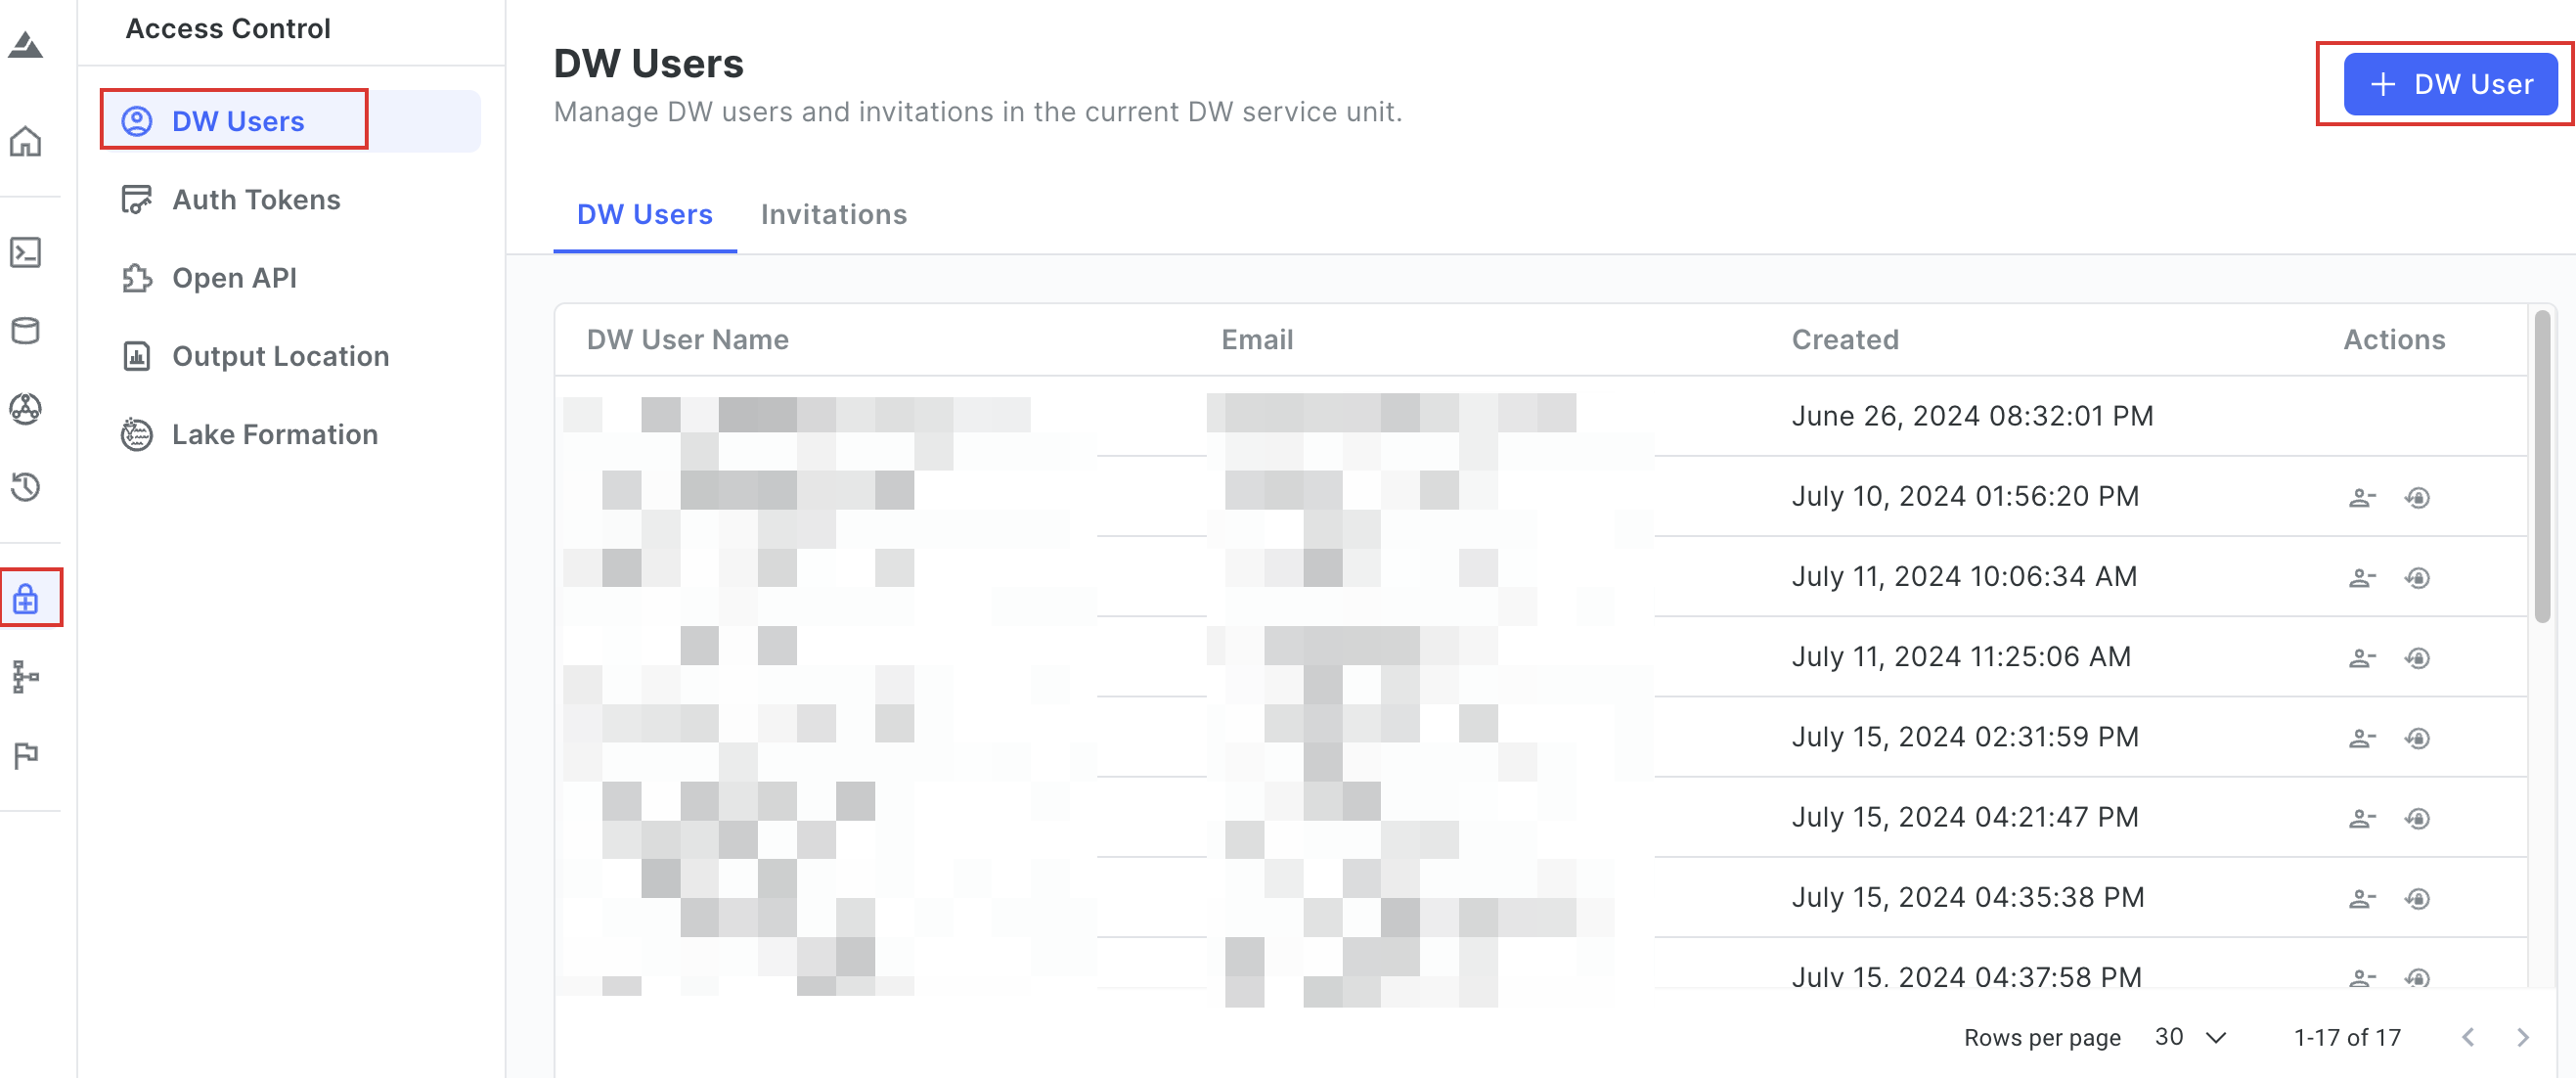
Choose Access Control > DW Users in the left sidebar, and click + DW User in the upper-right corner.
-
In the dialog box that is displayed, enter the invitee's email, and click Confirm.
Only one email can be entered at a time. To send multiple invitations, repeat step 2 and step 3.
After the invitee accepts the invitation and completes the registration with the DW service unit, you can view the DW user's information on the DW Users tab page.
Use a Terraform script to create DW users
This section describes how to run a Terraform script to automatically create DW users. To use the script, ensure you have obtained the API key that allows you to call Relyt Open API operations.
To obtain an API key, sign in to your Relyt console, choose API Keys from the top navigation bar, and click + API Key to create one.
-
Download the latest Terraform script.
Following is a code snippet example from the module for creating DW users. Configure the parameters according to your needs.
terraform {
  required_providers {
    relyt = {
      source = "relytcloud/relyt"
    }
  }
}

provider "relyt" {
  role     = "SYSTEMADMIN"
}

resource "relyt_dwuser" "dw_user1" {
  dwsu_id                                  = "<dwsu_id>"
  account_name                             = "<dw_user_name>"
  account_password                         = "<dw_user_password>"
  datalake_aws_lakeformation_role_arn      = "<cross_account_role_arn>"
  async_query_result_location_prefix       = "<s3_location_prefix>"
  async_query_result_location_aws_role_arn = "<s3_location_aws_role_arn>"
}

data "relyt_dwsu_boto3_access_info" "boto3" {
  dwsu_id    = relyt_dwuser.dw_user1.dwsu_id
  account_id = relyt_dwuser.dw_user1.account_name
}
Field description:
Field Description sourceThe name of the Relyt plugin. It is fixed to relytcloud/relyt.roleThe system role of your Relyt cloud account. It is fixed to SYSTEMADMIN.dwsu_idThe ID of the DW service unit in which the Extreme DPS cluster will be created. account_nameThe name of the DW user to create. account_passwordThe password of the DW user. datalake_aws_lakeformation_role_arnThe ARN of the IAM role with access permissions to AWS Lake Formation. async_query_result_location_prefixThe prefix of the path to the S3 output location. async_query_result_location_aws_role_arnThe ARN of the IAM role with access permissions to the S3 output location.
-
Run the following command to export the auth key.
export RELYT_AUTH_KEY="<api_key>"Replace
<api_key>with the API key you have obtained. For details about how to obtain the API key, view the instructions provided at the start of this section. -
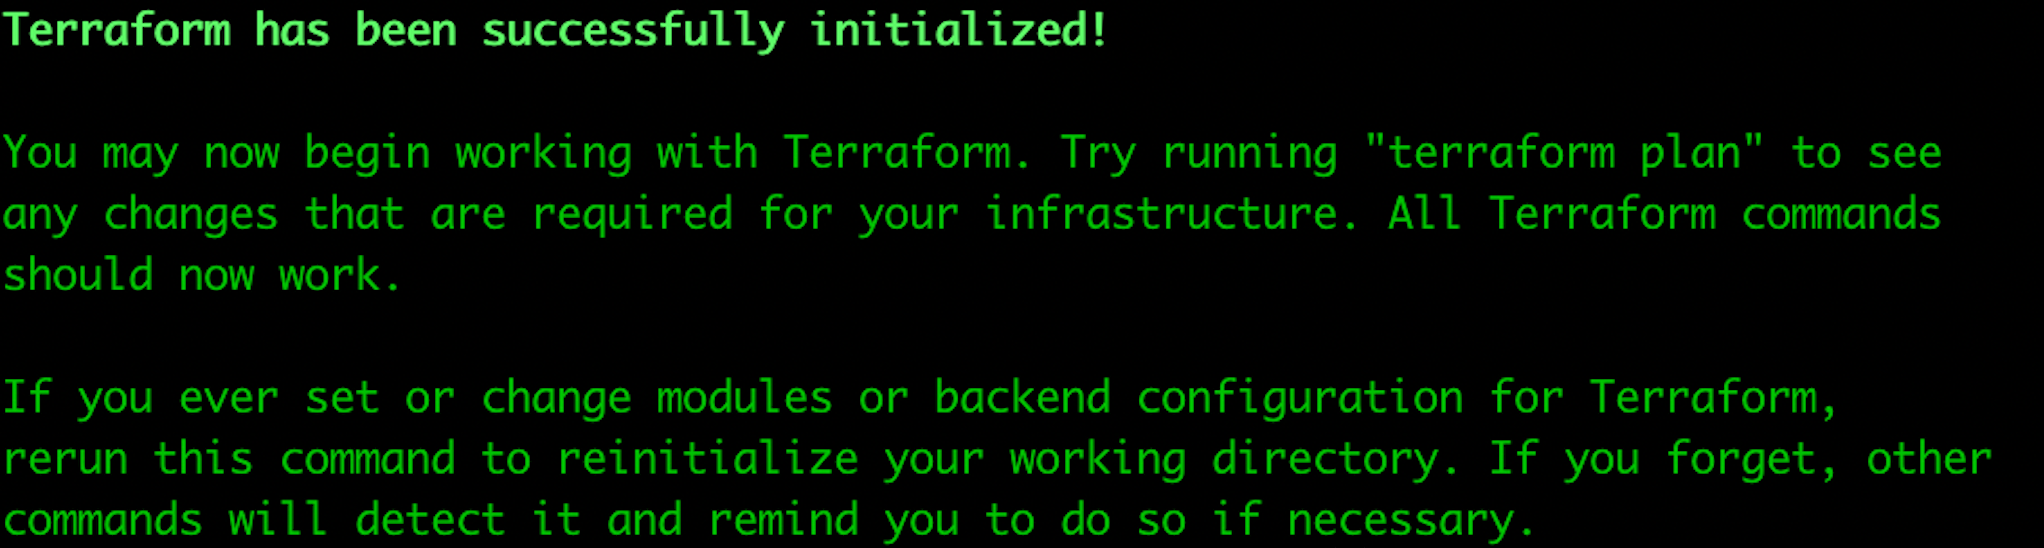
Run the following command to initialize the Terraform working directory.
terraform initThe operation is successful when similar information appears as shown in the following picture.
-
Run the following command to apply the module.
terraform apply --target=module.dw_user -
When information similar to the following is displayed, enter
yes.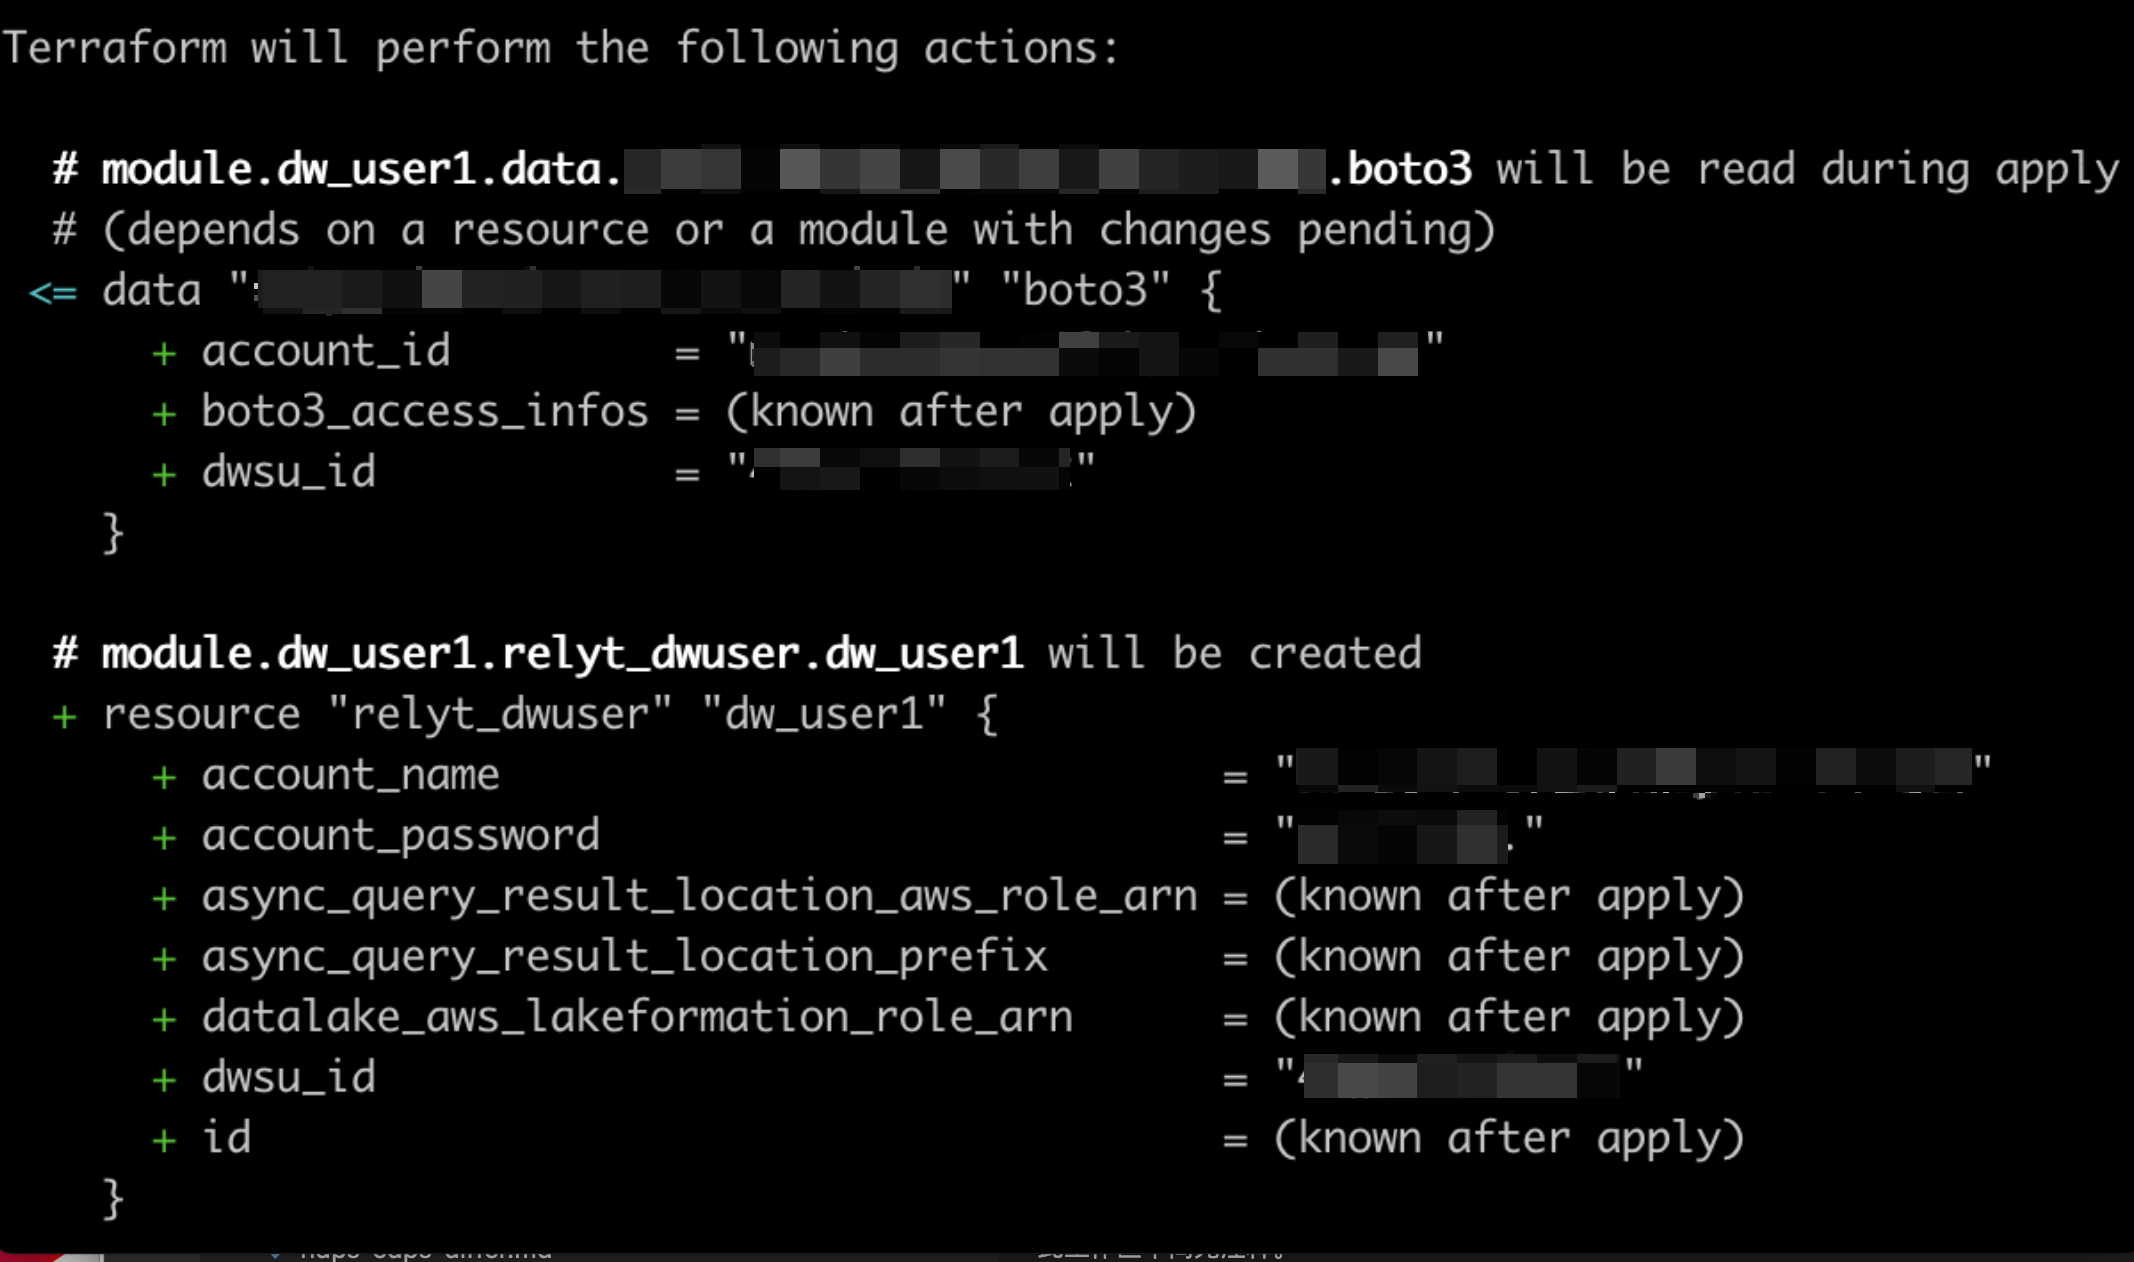
After the DW user is created, you can check it on the DW service unit console.