Import Data
This topic explains how to import data into your Relyt vector database.
Prerequisites
-
At least one DW service unit for vectors is available in the environment.
-
You have obtained the username and password to log in to the DW service unit for vectors.
Prepare test data
In this topic, we use the following dataset as the test data:
https://commontestdata.ks3-cn-beijing.ksyuncs.com/quickstart/glove-25-angular-train.csv
You can download the test dataset directly from the link above or by using one of the following command-line options:
- wget
- curl
wget https://commontestdata.ks3-cn-beijing.ksyuncs.com/quickstart/glove-25-angular-train.csv
curl -O https://commontestdata.ks3-cn-beijing.ksyuncs.com/quickstart/glove-25-angular-train.csv
The structure of the table is as follows:
| Field | Data Type | Description |
|---|---|---|
id | varchar | The unique identifier. |
vector | float16[] | The characteristics vectors. |
post_publish_time | timestamp | The vector update time. |
Step 1. Create a database, table, and index
Relyt allows you to create databases, tables, and indexes through the console or using other compatible client tools. If using client tools like psql, ensure you are connected to the Relyt database.
- Console
- Client tools
1. Create a database
-
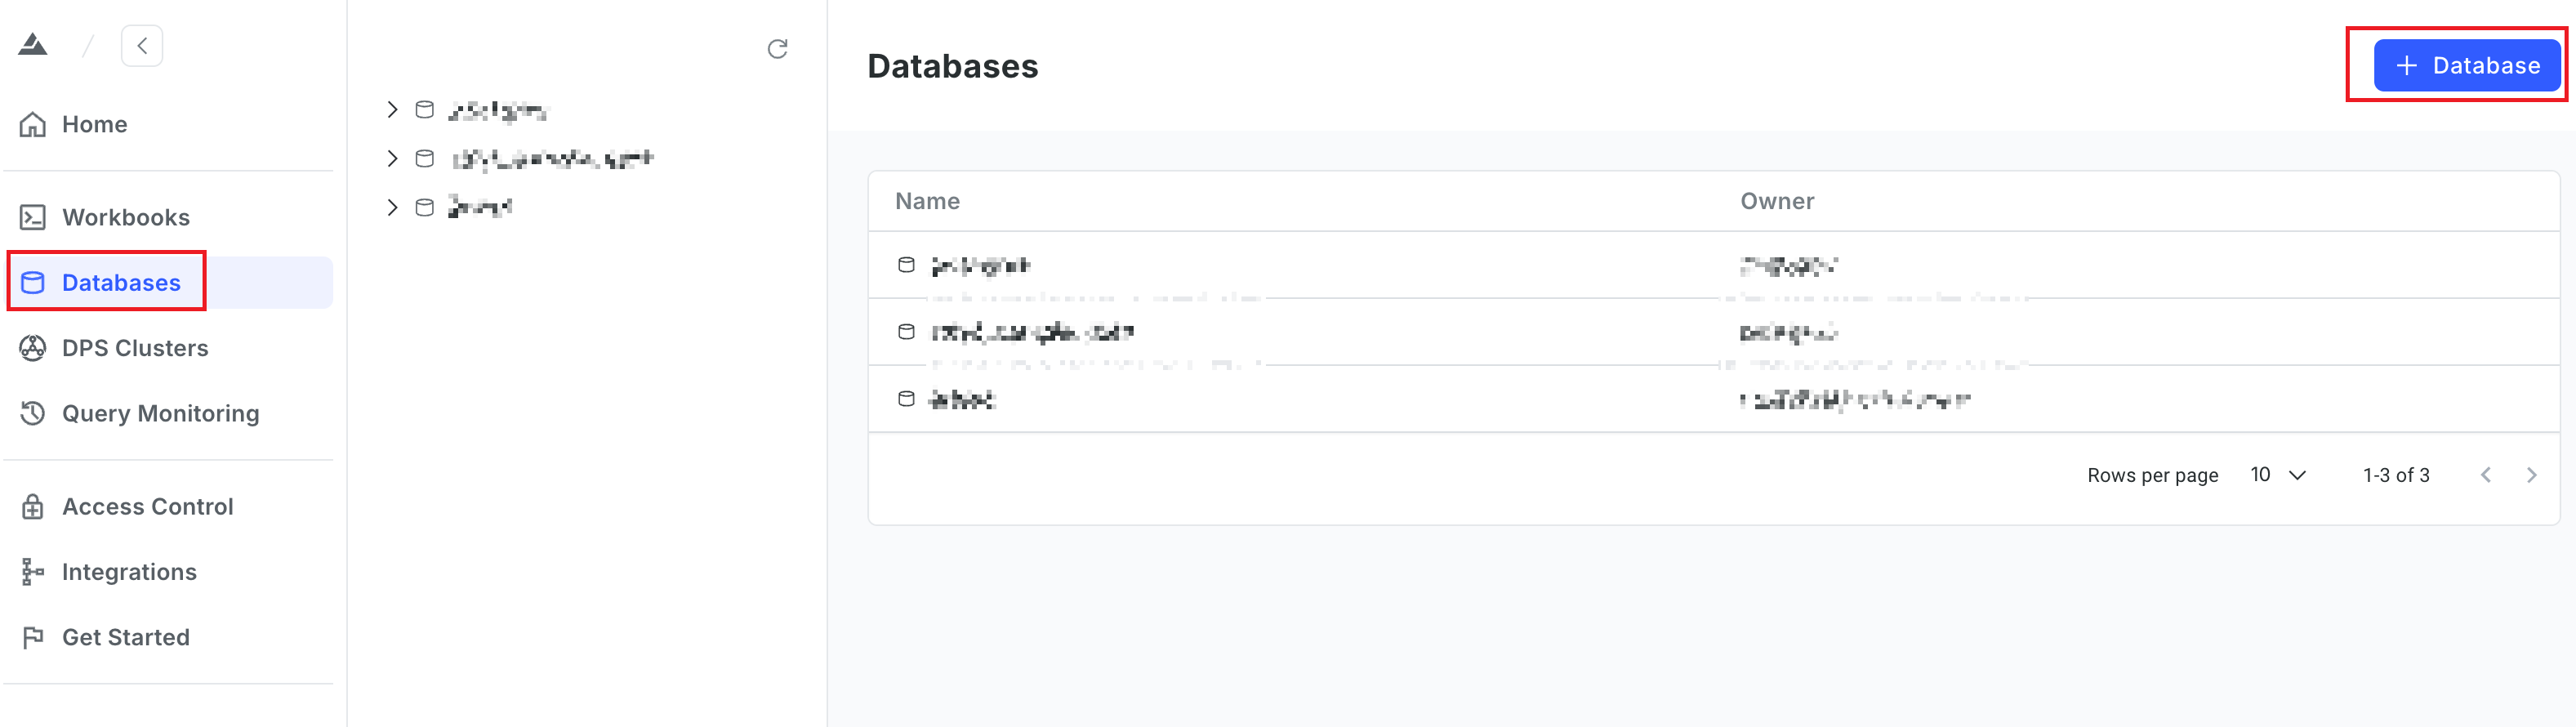
Sign in to the console of the target DW service unit for vectors.
-
In the left sidebar, select Databases and click + Database in the upper-right corner.
-
Enter the database name and optionally the description.
In this example, the database name is
testdb.
2. Create a schema and table
-
In the left pane, select testdb, click + Schema, and enter the schema name and optional description.
In this example, the schema name is
vector_test.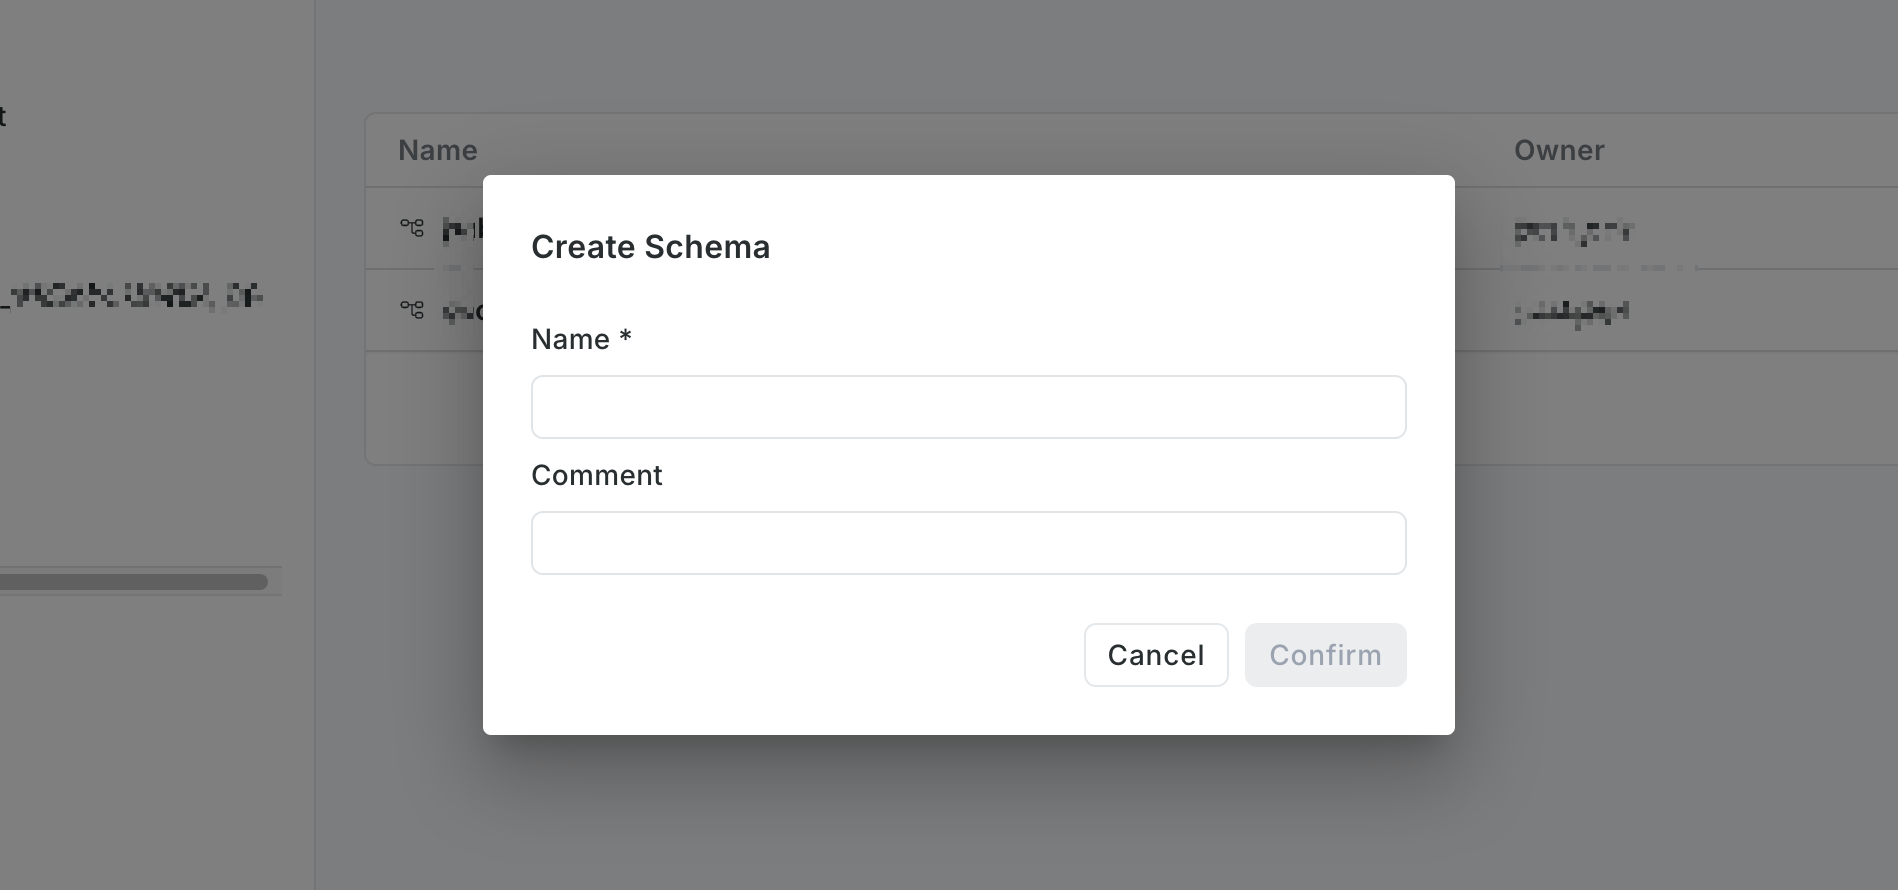
-
Navigate to the
vector_testschema, and click + Create > Table.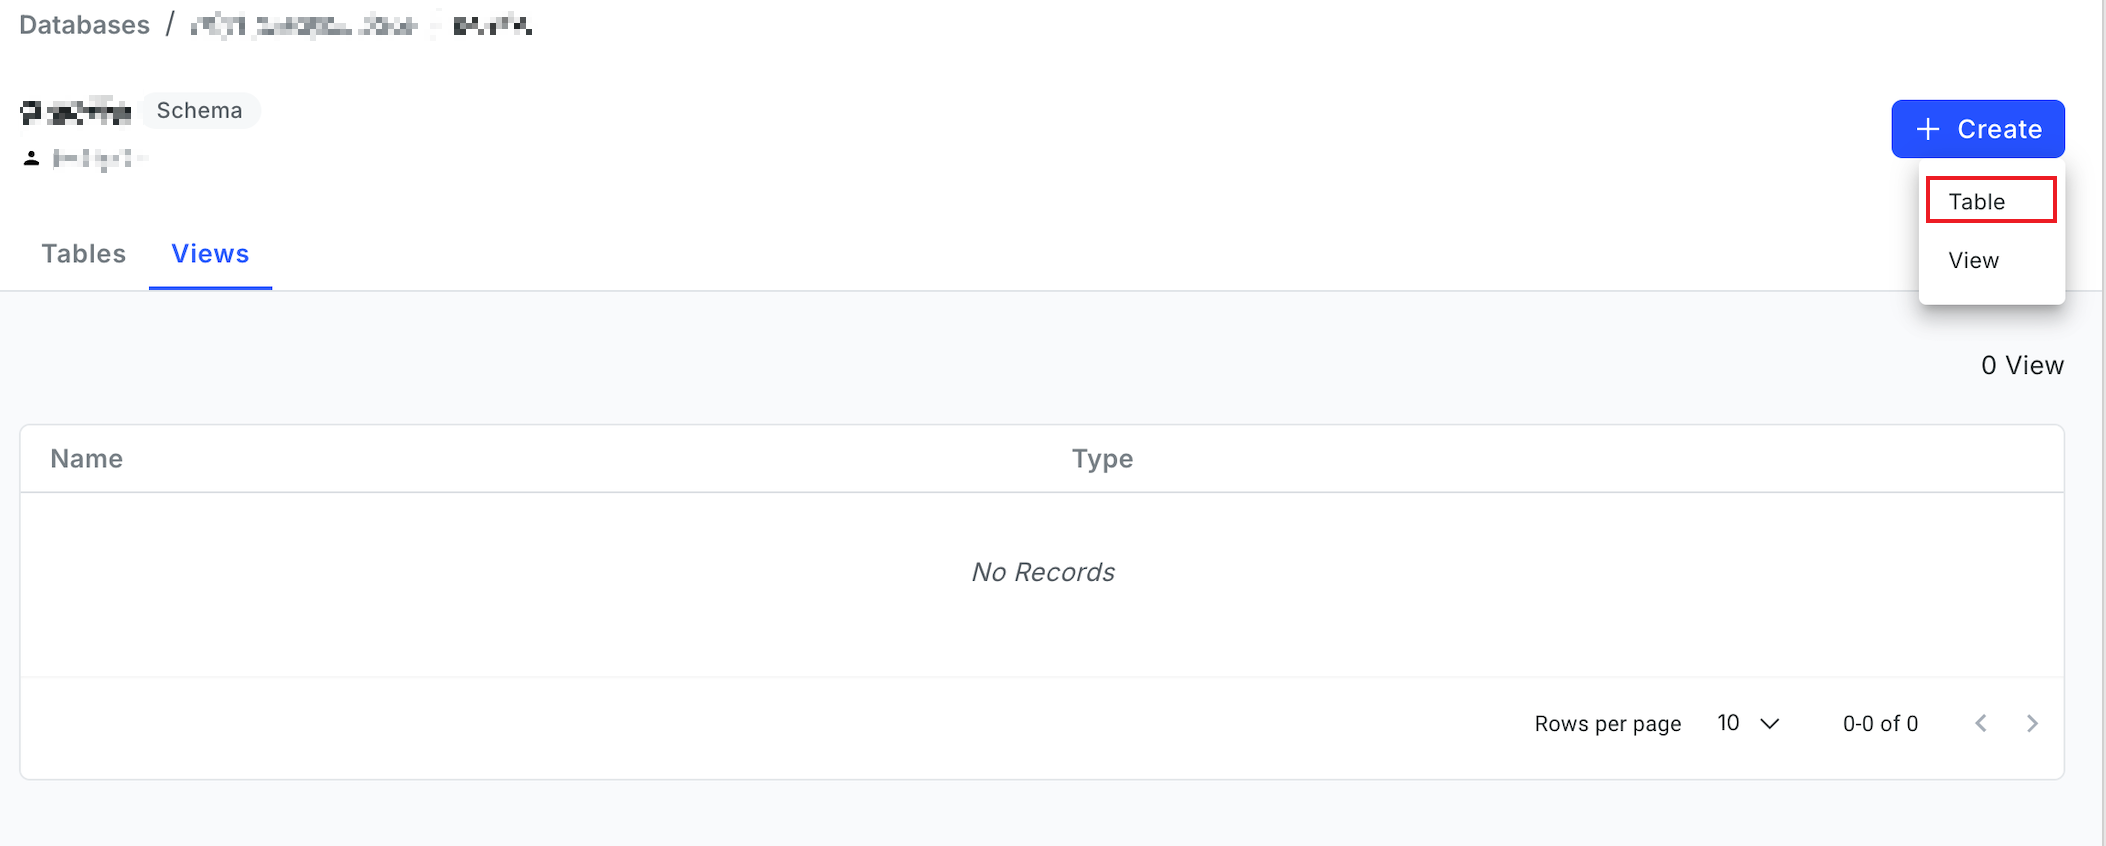
-
In the opened workbook, enter the
CREATE TABLEstatement.CREATE TABLE test_tbl
(
id VARCHAR,
vector vecf16(25),
post_publish_time TIMESTAMP
)
DISTRIBUTED BY(id); -
Select the
CREATE TABLEstatement and click the Run button in the upper-right corner.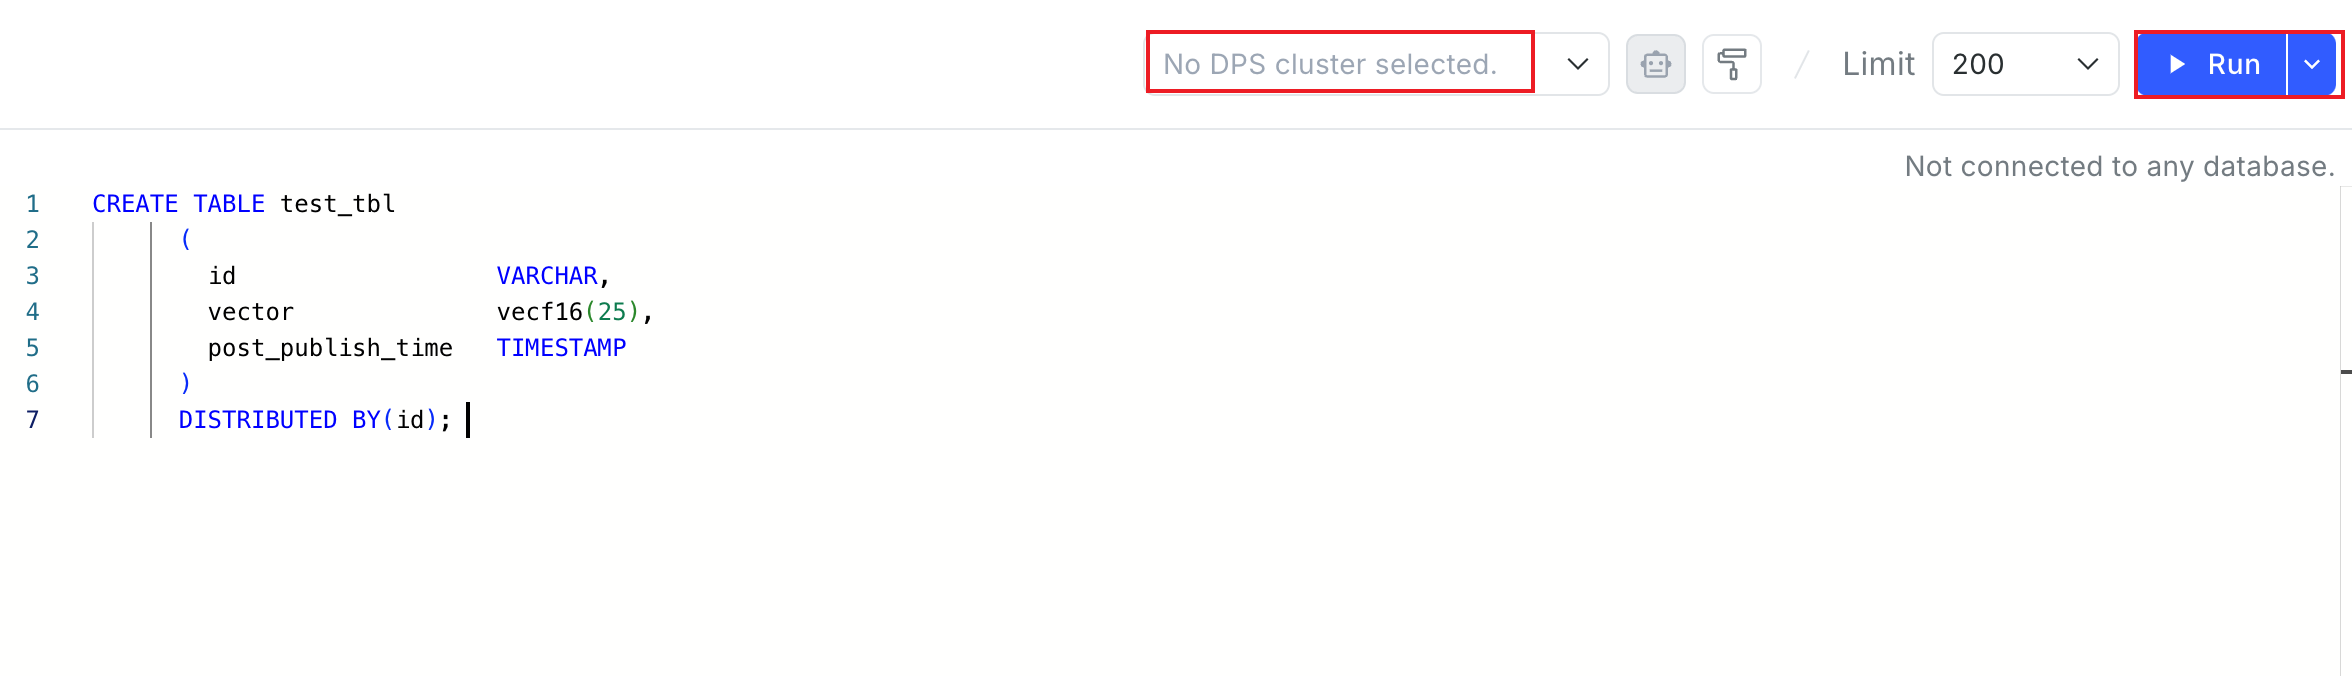
3. Index the table
-
In the left sidebar, select Workbooks, then click + Workbook.
-
In the upper-left corner of the SQL editor, set the database to
testdband the schema tovector_test. -
In the SQL editor, enter the following SQL statements:
-- Modify the storage format of the vector column to PLAIN
ALTER TABLE vector_test.test_tbl ALTER COLUMN vector SET STORAGE PLAIN;
-- Create a vector index
CREATE INDEX test_vector_idx ON vector_test.test_tbl USING vectors (vector vecf16_l2_ops); -
Select the statements and click Run in the upper-right corner.
-
Run the following commands to create a database named
testdband then connect to it:-- Create a database named testdb
CREATE DATABASE testdb;
-- Connect to the database
\c testdbFor more information on the
CREATE DATABASEcommand, refer to CREATE TABLE. -
Run the following commands to create a schema named
vector_testand a table namedtest_tbl:CREATE SCHEMA IF NOT EXISTS vector_test;
CREATE TABLE test_tbl
(
  id                  VARCHAR,
  vector              vecf16(25),
  post_publish_time   TIMESTAMP
)
DISTRIBUTED BY(id); -
Run the following commands to index the
test_tbltable:-- Change the storage format of the vector column to PLAIN
ALTER TABLE vector_test.test_tbl ALTER COLUMN vector SET STORAGE PLAIN;
-- Create a vector index
CREATE INDEX test_vector_idx ON vector_test.test_tbl USING vectors (vector vecf16_l2_ops);
Step 2. Import data
This example uses the \copy command in psql.
-
Ensure
psqlis connected to the Relyt database. -
Run the following command:
\copy test_tbl from '/<save_directory>/glove-25-angular-train.csv' WITH CSV DELIMITER '|';Replace
<save_directory>with the actual directory path where the test data is stored. For example, if the test data is downloaded to the/homedirectory, the path is/home/glove-25-angular-train.csv.Once the data import is complete, the system will display
COPY 295879, confirming that 295,879 records have been successfully copied.